Adding subtitles should not take longer than editing the actual video.
The simplest way to add subtitles is to upload your video to an AI subtitle tool, let it generate captions, check the text, adjust the style, and export either a video with subtitles or a file like SRT. That’s all. You don’t have to type every sentence, drag text boxes, or spend an hour fixing captions for a short video.
This guide is for creators who want to finish, post, and reuse their videos without making subtitles a big project.
The fastest way to add subtitles to video
Here’s the simple version:
- Upload your video to an AI subtitle generator.
- Let the tool transcribe the audio.
- Fix names, brand terms, awkward line breaks, and timing.
- Choose a subtitle style that fits the platform.
- Export the final video with subtitles burned in, or download an SRT file.
This is one of the fastest workflows: AI does your first draft, and you make the final edits. But, as you could’ve guessed, this is not the most perfect solution. In a lot of cases, auto subtitles might get the names, slang, or fast speech wrong, especially if you’re having background noise overlapping with your speech. That’s why we always suggest doing a quick “human” check before you put it out there.
Subtitles vs captions: what’s the difference?
People often use these words as if they mean the same thing, but they’re a bit different.
Subtitles usually show spoken words on screen. They help viewers follow dialogue, especially if the video is in another language or someone is watching without sound.
Captions, on the other hand, include speech plus the audio context, like music, laughter, speaker labels, or background noises. Captions are also mainly used for accessibility because they help people understand the video even when they cannot hear the audio.
If your video needs to be accessible, add caption details where they matter.
For example:
- [soft music playing]
- [laughs nervously]
- [speaker 1]
You do not need to caption every tiny sound in a TikTok, but for webinars or interviews captions are worth doing properly.
How to add subtitles to video with AI
Here’s a practical subtitle workflow using an AI subtitles tool like Async.
Let’s practice what we preach.
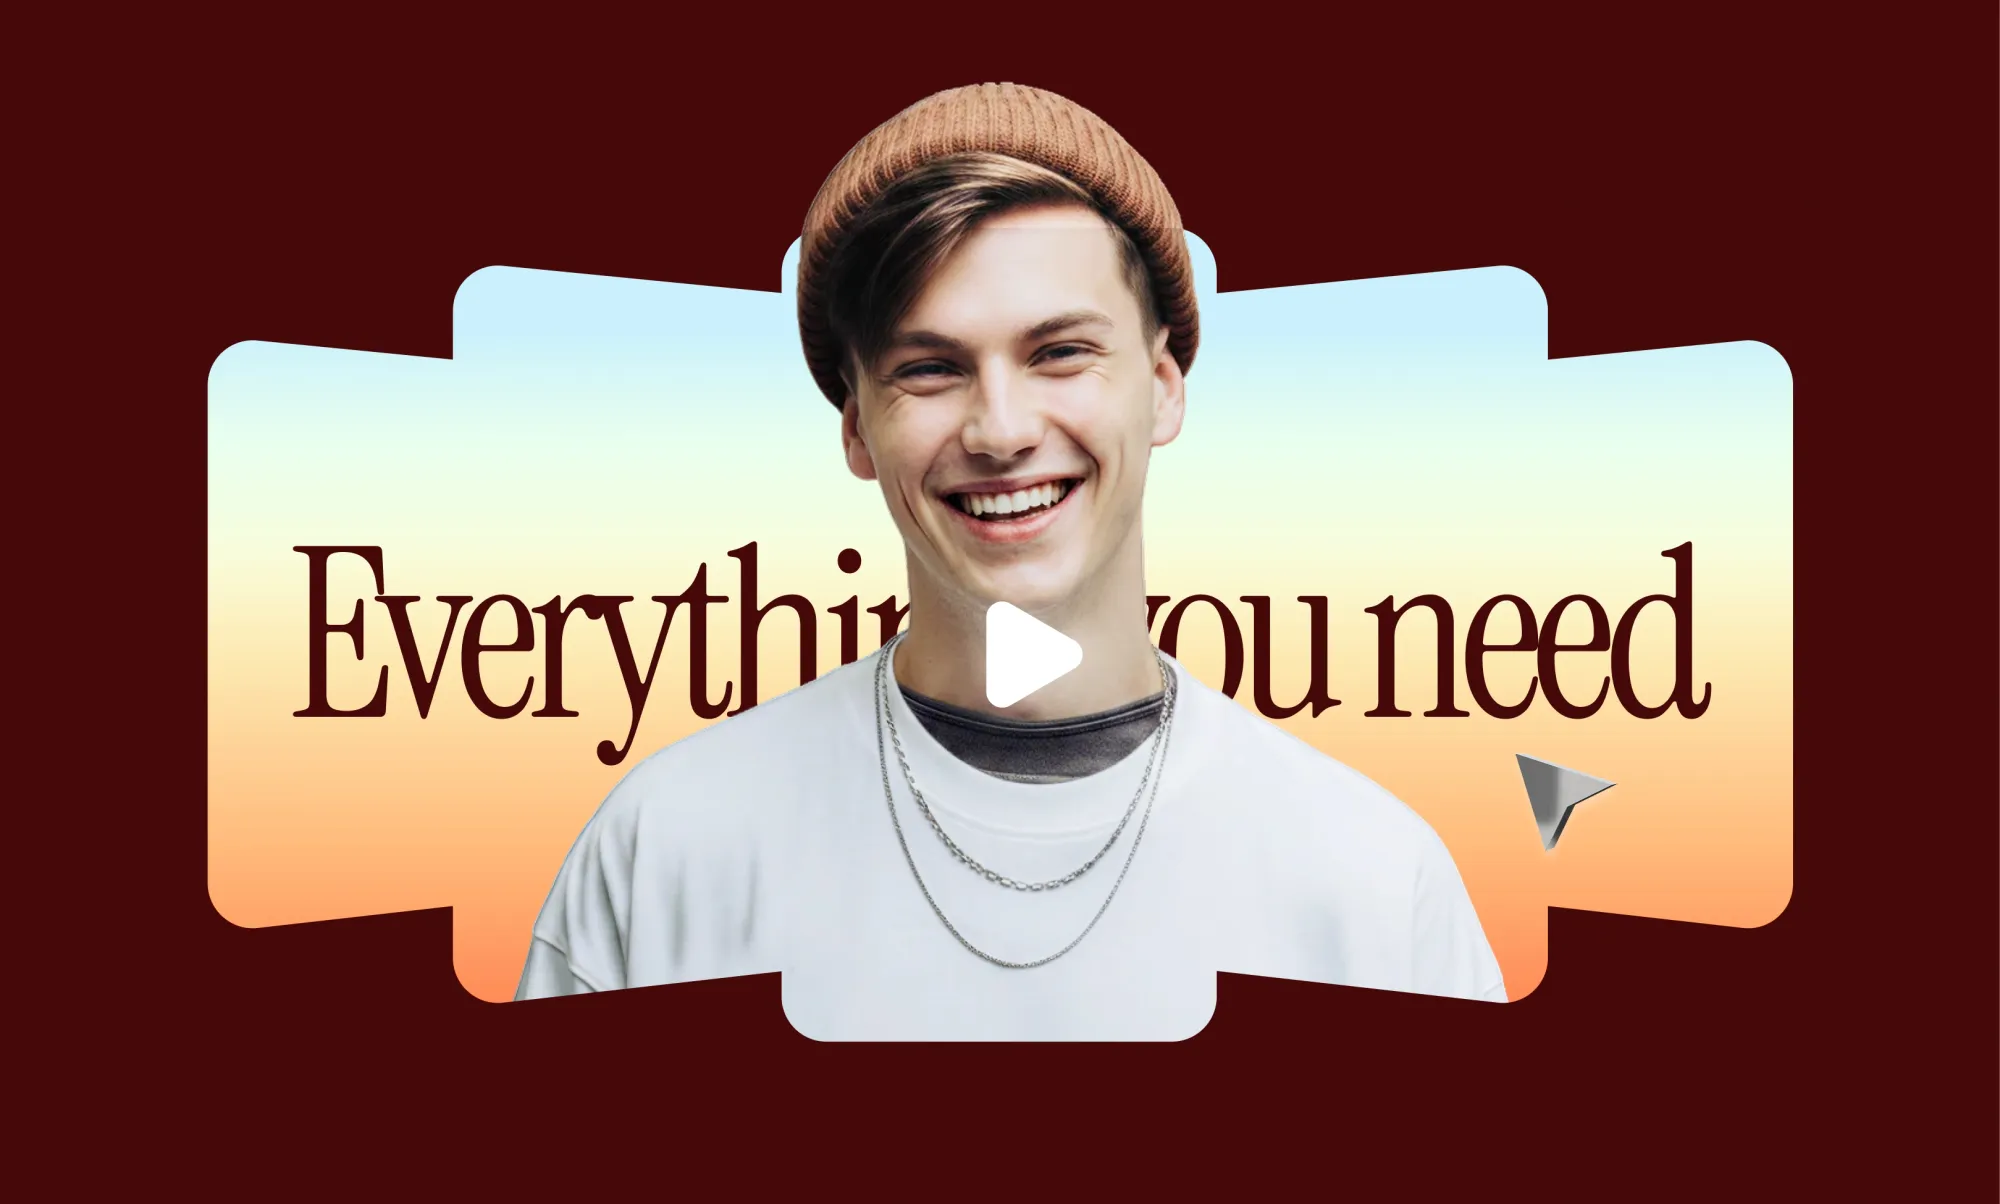
For this example, we’ll take one of our own YouTube videos that originally went out without subtitles and turn it into a captioned version for social. The video is this Async templates launch video:
The goal is simple: take the video, add subtitles, choose a social-friendly caption style, and export a version that works better for people watching on mute.
Step 1: Start a new project and upload your video

Open Async and start from the main workspace. You can either describe what you want to make in the chat box or upload your video directly.
For this workflow, go to the Edit video with AI workflow, and upload the video file you want to subtitle.
If you are repurposing a YouTube video, download or use the original video file first, then upload it into Async. Once it is inside the editor, you can trim it, resize it, clean up the audio, and add subtitles without moving between different tools.
A simple prompt you could use:
Add subtitles to this video and prepare it for social media.
Or, if you want to be more specific:
Add subtitles to this video, make them easy to read on mobile, and format the video for YouTube Shorts.
If you're still not into prompting, just click on the Subtitles tool in our editor. Here's how:
Step 2: Generate auto subtitles
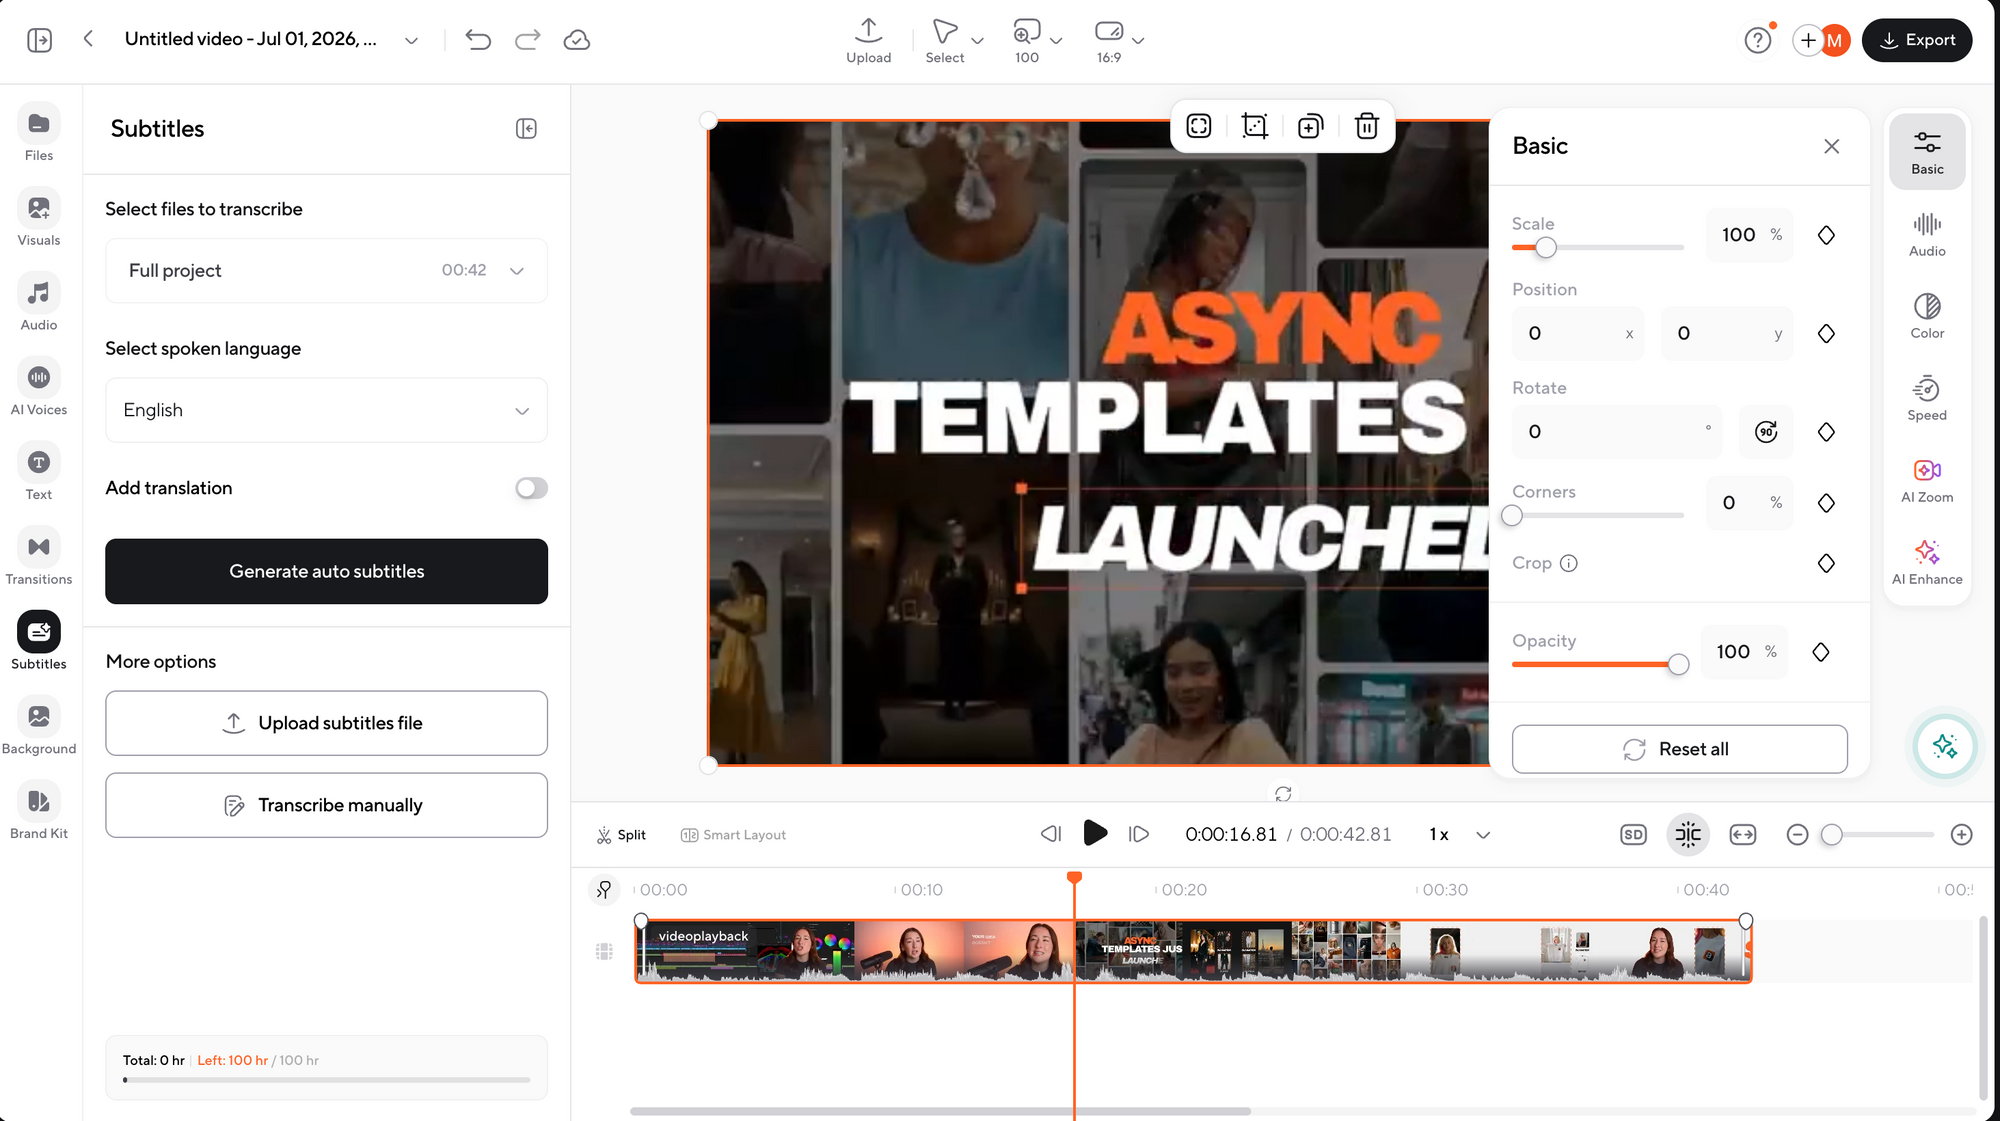
Once the video is open in the editor, go to the Subtitles tab on the left side.
From there, choose the file you want to transcribe. In this case, we’ll select the Full project, since we want subtitles across the whole video.
Then choose the spoken language. For this example, the video is in English.
Now click Generate auto subtitles.
Async will automatically transcribe the audio and place the subtitles on the timeline. Instead of typing every sentence manually, you get a timed subtitle draft that you can edit right away.
You can also choose other options here, like:
- Uploading an existing subtitle file
- Transcribing manually
- Adding a translation if you want subtitles in another language
For a beginner workflow, auto subtitles are the fastest place to start.
Step 3: Review, style, and export
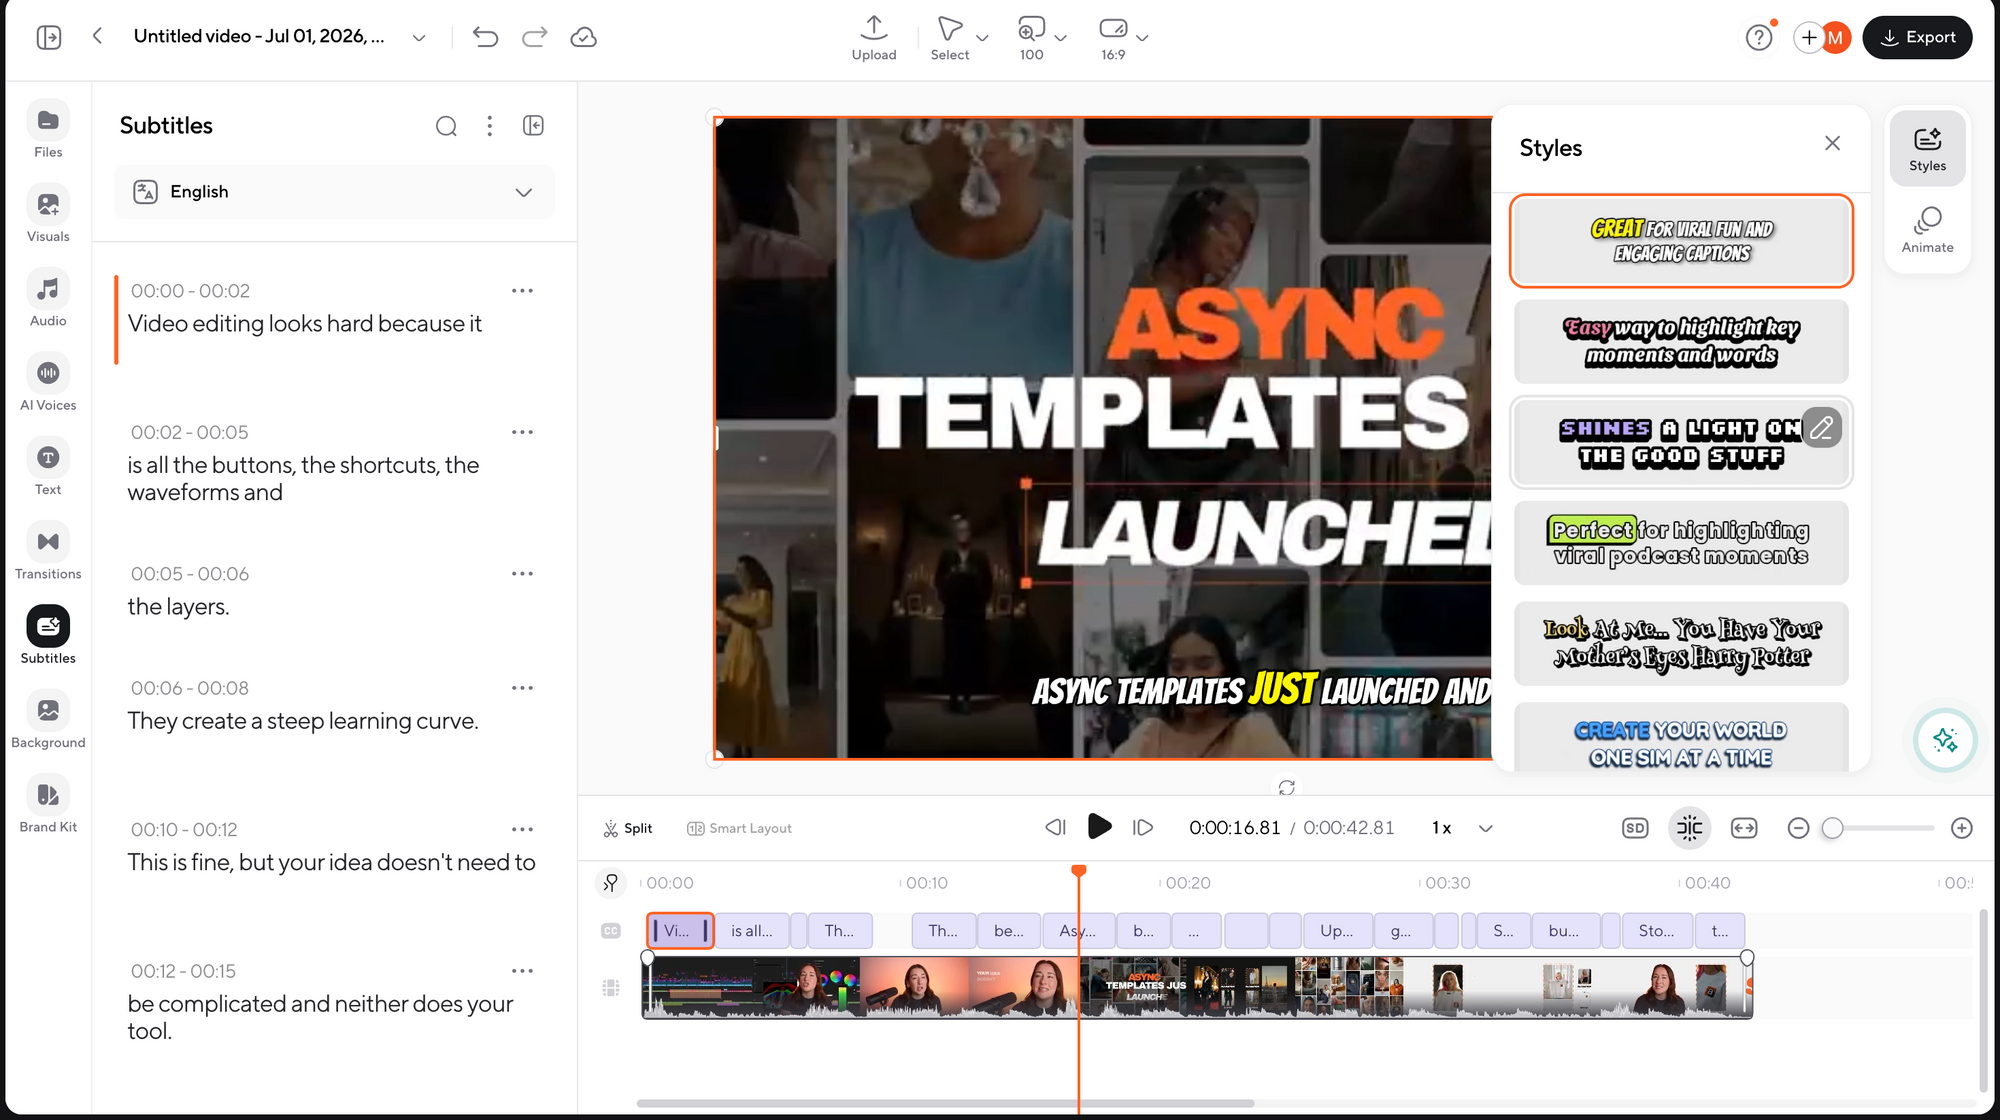
After the subtitles are generated, Async shows each subtitle line on the left with timestamps.
This is where you do the human part.
Go through the subtitles and quickly check for:
- Wrong words
- Weird line breaks
- Brand names
- Timing issues
- Sentences that are too long
- Text that appears too fast
For example, in our video, Async splits the captions into short, readable chunks like:
Video editing looks hard because it
is all the buttons, the shortcuts, the waveforms and
the layers.
You can edit any line directly if something feels off.
Then move to styling. Async gives you different subtitle styles, including bold social-style captions that are easier to read on TikTok, Reels, and Shorts.
Pick a style that fits the video, but keep readability first. The caption should be large enough for mobile and should not cover important parts of the video.
Once everything looks good, click Export.
Now you have a captioned version of the video that is much easier to watch without sound, and ready to reuse across social platforms.
Should you use burned-in subtitles or an SRT file?
Here’s the practical answer.
If you are posting a vertical clip to TikTok, Instagram Reels, or YouTube Shorts, use burned-in subtitles.
If you are uploading a long YouTube tutorial, export an SRT file too.
If you are repurposing a podcast, export the transcript as text so you can turn it into notes, quotes, newsletter sections, or blog content later.
How to make subtitles easier to read
A subtitle might be technically correct but still hard to watch.
Here are the rules that actually matter.
Keep each subtitle short
Most viewers should be able to read each line without pausing. If a caption has 20 words but only stays up for a second, that’s too much.
For short-form videos, shorter lines usually work better.
Instead of:
“Today I’m going to show you how to add subtitles to your video so people can watch it even when they are scrolling with the sound off.”
Try:
“Here’s how to add subtitles
for people watching on mute.”
Match the subtitle speed to the speaker
If someone talks fast, do not show huge blocks of text. Split the subtitles into smaller chunks.
If the speaker pauses for emphasis, let the subtitles pause too. The timing should match the speaker, not feel like random text pasted on the video.
Do not cover important visuals
It’s easy to forget this.
If you are making a product demo, do not place subtitles over the button you are trying to show. If you are making a tutorial, do not cover the menu, timeline, chart, or screen recording.
Move the subtitles slightly higher or lower depending on the video.
For vertical videos, remember that platform icons, captions, usernames, and buttons often sit near the bottom or side of the screen. Keep your subtitle safe zone in mind before exporting.
Use contrast
White text with a thin shadow works for many videos. Bold text with a background box can work well for busy footage. Brand colors can work if they are readable.
What usually does not work:
- Pale yellow text over a bright background
- Thin fonts on mobile
- Three subtitle colors at once
- Huge animated words that distract from the message
- Captions placed too close to the edge
Good subtitles should help viewers follow the video, not distract them.
How to add subtitles on a YouTube video
If you are trying to figure out how to add subtitles on a YouTube video, you have a few options.
The easiest workflow is:
- Create or upload your video.
- Generate subtitles with an AI subtitle tool.
- Review and correct the transcript.
- Export an SRT file.
- Upload the SRT file to YouTube Studio.
- Publish the video with captions available.
YouTube can also generate automatic captions for many videos, but you should still review them. Auto captions are helpful, but they can make mistakes with names, technical terms, accents, and unclear audio.
For YouTube, an SRT file is usually better than burned-in subtitles if you want viewers to control captions. But if you are uploading a Shorts-style video and the text is part of the creative style, burned-in subtitles can work better.
A simple rule:
- Use SRT captions for long-form YouTube videos.
- Use burned-in subtitles for Shorts and social-style edits.
Can you add subtitles to someone else’s YouTube video?
Usually, you cannot directly add subtitles to someone else’s YouTube video unless you have access to that video, permission from the owner, or a platform feature that allows contributions.
But you can still create subtitles for your own use in a few situations.
For example, if you have permission to use the video, you can download the video or source file, upload it to a subtitle tool, generate subtitles, and export a new captioned version.
If you do not own the video and do not have permission, be careful. Adding subtitles and reposting someone else’s content can create copyright problems, even if your subtitles are helpful.
For personal viewing, browser caption tools or accessibility features may help. For publishing, get permission first.
How to add subtitles to a downloaded video
If you have a downloaded video file, like an MP4, MOV, or WebM, the process is simple.
Upload the file into a subtitle editor, generate or import subtitles, review the text, then export the captioned video.
Use this workflow:
- Upload the downloaded video.
- Generate subtitles automatically or upload an SRT file.
- Fix the transcript and timing.
- Choose your subtitle style.
- Export the video with subtitles burned in, or export a separate subtitle file.
This is useful for:
- Repurposing webinar recordings
- Captioning podcast clips
- Editing course videos
- Adding subtitles to MP4 files
- Preparing internal training videos
- Making social clips from longer recordings
If the downloaded video has poor audio, clean it up before generating subtitles if your editor allows it. Cleaner audio usually means cleaner captions.
Does Facebook add subtitles to videos?
Facebook has supported captioning features for uploaded videos, including automatic caption options in some publishing workflows. The exact options can depend on the type of video, page, account, region, and Meta’s current interface.
If you’re a creator, it’s safer not to rely only on the platform.
If you care about how captions look, create the subtitles before uploading the video. That way you can control the style, placement, font size, and timing.
For Facebook feed videos, Reels, ads, and cross-posted clips, burned-in subtitles are often the easiest choice because the captions stay visible wherever the video appears.
Can ChatGPT add subtitles to video?
ChatGPT can help with subtitle-related tasks, but it does not magically subtitle a video by itself unless it is connected to tools that can process video or audio.
ChatGPT can help you:
- Clean up a transcript
- Rewrite captions for clarity
- Translate subtitle text
- Turn a transcript into an SRT-style format
- Shorten long subtitle lines
- Create captions from a script
- Suggest better wording for on-screen text
But to add subtitles to an actual video, you need a video editor or subtitle generator that can read the audio, create timed captions, and export the video or subtitle file.
A good workflow is to use an AI subtitle tool for the actual video processing, then use ChatGPT-style help for rewriting, formatting, or improving the text if needed.
Best app to add subtitles to video free: what to look for
A free subtitle app can be enough for short clips, tests, or occasional videos. But “free” can mean very different things depending on the tool.
Before choosing the best app to add subtitles to video free, check these details:
- Does it auto-generate subtitles, or do you have to type manually?
- Does it add a watermark?
- Is there a video length limit?
- Can you edit the transcript?
- Can you change the subtitle style?
- Can you export an SRT file?
- Can you download the video in good quality?
- Does it support the language you need?
- Does it work well on mobile or desktop?
- Can it handle long videos?
For beginners, the best free option is usually the one that lets you test the full workflow: upload, generate, edit, style, and export.
Don’t pick a tool just because it’s free. Choose one that saves you time and still makes your video look good.
Create, edit, caption, and resize videos in Async
If you want subtitles to be part of the full editing workflow, Async is built for that.
You can use Async’s AI subtitles tool to generate captions, review the text, adjust the style, and export the final video. But the useful part is that subtitles do not live in a separate tool from the rest of the edit.
You can also trim the clip, clean up audio with Magic Dust, resize the video for Shorts, TikTok, or Reels, and keep working inside the same chat-based editor.
This is helpful when your real job isn’t just to add subtitles.
It is usually something like:
“I recorded a long tutorial. I need to clean it up, caption it, cut the boring parts, and turn it into a vertical clip.”
Or:
“I have a product demo. I need subtitles, better audio, and a version for LinkedIn.”
Or:
“I need to turn this podcast clip into something people can watch on mute.”
That is where a chat-based editor makes the workflow feel lighter. Instead of opening five different tools, you can make the video, caption it, polish it, and repurpose it in one place.
Common subtitle mistakes beginners make
Subtitles are simple, but a few small mistakes can make the whole video feel harder to watch.
Leaving AI mistakes untouched
Auto subtitles need a review. Always check names, numbers, brand terms, and any sentence where the speaker talks fast.
Making subtitles too small
If you edit on desktop, your subtitles may look readable there and still be tiny on a phone. Preview the video at mobile size before publishing.
Placing subtitles too low
On TikTok, Reels, and Shorts, the bottom of the screen can be crowded. If subtitles sit too low, buttons and captions from the platform may cover them.
Using too many words at once
Subtitles should not look like a paragraph. Break long sentences into shorter lines.
Forgetting the platform
A YouTube tutorial, a LinkedIn product demo, and a TikTok clip do not need the same subtitle style. Match the format to the place where people will watch.
Exporting only one version
If you are repurposing content, make a few versions while you are already in the editor. For example:
- Horizontal version for YouTube
- Vertical version for Shorts, TikTok, and Reels
- Square version for LinkedIn or Facebook
- SRT file for YouTube
- Transcript for blog or newsletter reuse
This way, you won’t have to reopen the project later.
Final thoughts
To add subtitles to your video fast, let AI handle the first draft, then check the words and export the best version for your platform.
That is the whole game.
Subtitles make your videos easier to watch anywhere people scroll. If you’re making videos for YouTube, TikTok, Reels, captions shouldn’t be an afterthought.
Use a workflow that lets you caption, edit, resize, clean up, and reuse your video without starting over each time.
FAQ
How do I add subtitles to video quickly?
The fastest way is to use an AI subtitle generator. Upload your video, generate subtitles automatically, review the transcript, style the captions, and export the final video. This is much faster than typing and syncing every line manually.
How do I add subtitles to a video for free?
Use a free AI subtitle tool or a video editor with a free plan. Check whether the free version has limits like watermarks, export quality restrictions, video length caps, or limited subtitle minutes before you start.
What is the easiest way to add subtitles to MP4?
Upload the MP4 file to a subtitle editor, generate captions automatically, edit the text and timing, then export the MP4 with subtitles burned in. If you need captions viewers can turn on and off, export an SRT file too.
Should I use subtitles or captions?
Use subtitles when you mainly need spoken words on screen. Use captions when you also need sound effects, speaker labels, music cues, or accessibility details for viewers who cannot hear the audio.
Are burned-in subtitles better than SRT files?
Burned-in subtitles are better for social videos because they always appear and keep your chosen style. SRT files are better for platforms like YouTube, courses, and websites where viewers may want to turn captions on or off.
Can I add subtitles to a video after exporting it?
Yes. Upload the exported video to a subtitle tool, generate or import subtitles, then export a new version with captions. Just keep in mind that if the video has already been compressed, exporting again may slightly affect quality depending on the tool.
Can I translate subtitles into another language?
Yes, many AI subtitle tools can translate subtitles after generating the original transcript. You should still review the translation, especially for jokes, brand terms, technical language, and cultural references.
How accurate are AI subtitles?
AI subtitles can be very accurate when the audio is clear, the speaker is easy to understand, and there is not much background noise. Accuracy drops when there are accents, music, crosstalk, poor microphones, or niche terminology. Always review before publishing.
How do I add subtitles on a YouTube video?
For your own YouTube video, you can upload an SRT file in YouTube Studio or use YouTube’s automatic captions and edit them. For the cleanest workflow, generate and review subtitles before publishing, then upload the SRT file with your video.
Can I add subtitles to someone else’s YouTube video?
Not directly unless you have access, permission, or a supported contribution option. If you want to republish a subtitled version, make sure you have the rights to use the original video.