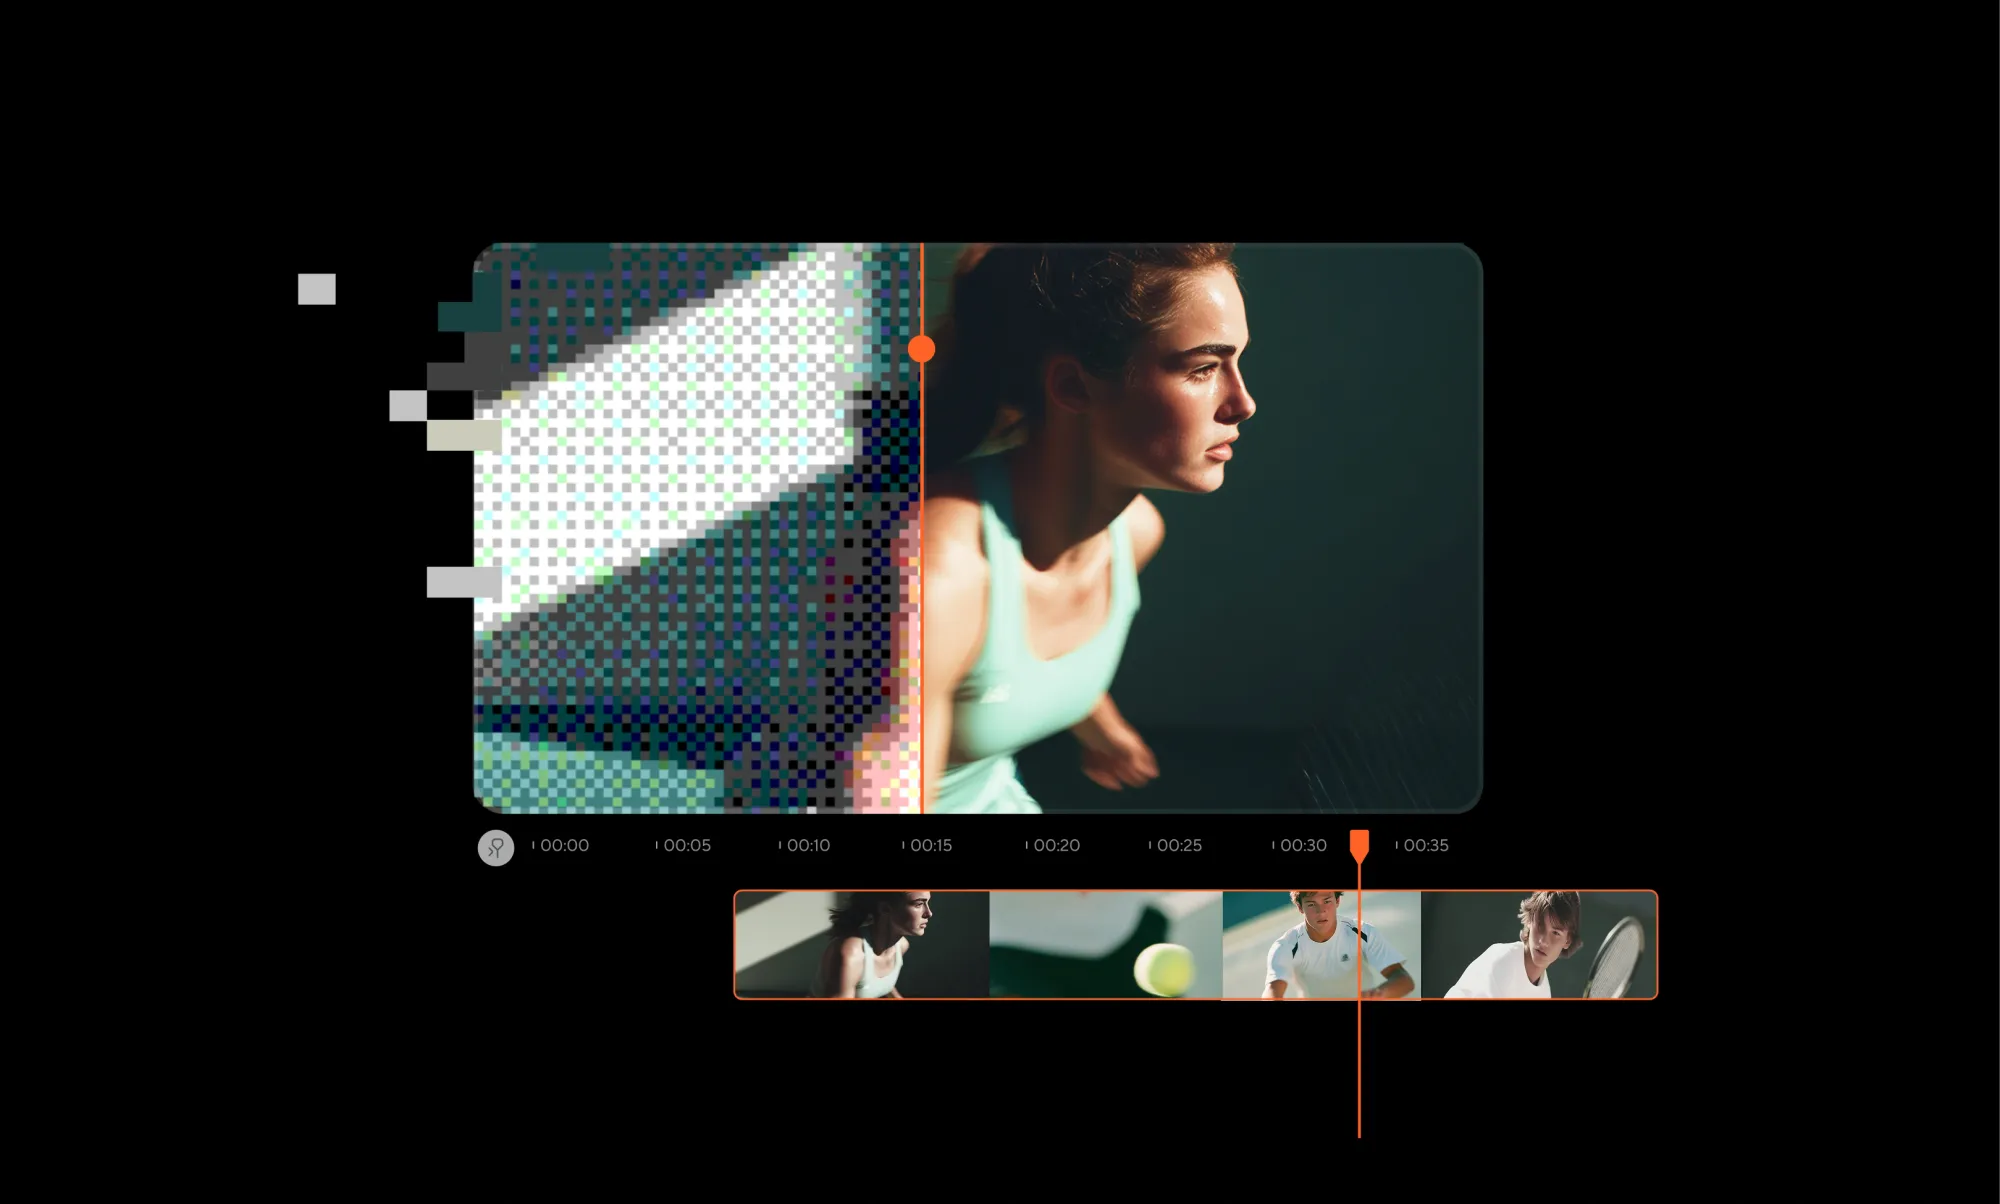
A pixelated video usually has a story behind it. It looked fine before the upload, got blocky after an export, or turned strangely soft the second you tried to make it bigger.
Knowing how to fix pixelated video starts with figuring out what actually went wrong. Low resolution, heavy compression, grain, and blur can all make footage look bad for completely different reasons.
To know how to fix your issue, you first need to know what’s actually causing it. You might need to increase the resolution, reduce noise, change your export settings, sharpen the footage carefully, or use AI enhancement to clean things up without making everything look aggressively crisp and artificial.
In this guide, we’ll break down what is happening, what actually helps, and what is probably better left alone.
Why does my video look pixelated?
Pixelation usually comes from low recording resolution, aggressive compression, a low export bitrate, enlarging a small video, or repeatedly re-exporting the same file. Poor lighting and missed focus can create similar-looking problems, but those are usually grain and blur rather than true pixelation.
Here is what tends to cause each problem:
Low recording resolution: A 480p recording only contains so much visual information. Stretch it across a 1080p or 4K screen, and those limited pixels become much easier to see.
Heavy compression: Compression keeps file sizes manageable by throwing away visual information the encoder considers less important. Push it too far and fine detail starts turning into blocks, smears, or muddy patches.
Low export bitrate: Resolution tells you how many pixels are in the frame. Bitrate determines how much data is available to describe those pixels over time. A 1080p file can still look terrible when the bitrate is too low.
Enlarging a small video: Making the frame bigger doesn’t create new detail; what a resize does is spread the same image information across more pixels.
Poor lighting and camera noise: Dark footage often forces a camera to raise its sensor gain, creating visible speckles and color noise. That is grain rather than pixelation, but compression can make both appear at once.
Repeated downloads and exports: Upload to one platform, download the compressed copy, upload it somewhere else, and you are effectively making a copy of a copy. Each compression pass can remove a little more information.
Unstable internet during streaming or cloud recording: Real-time encoders will sometimes reduce quality to keep a stream going if bandwidth is low. This creates temporary blocks, smearing, and sudden drops in detail, making the video look pixelated.
The difference matters.
Pixelation usually looks like visible square blocks. Grain is more like fine, moving speckles, especially in darker areas. Meanwhile, blur looks soft or smeared because of focus or motion.
There’s a big difference between how to fix blurry video and how to fix grainy video. Sharpening might slightly help soft footage, while noise reduction targets grain and compression artifacts, and low resolution needs a different approach entirely.
How to fix pixelated video
The best way to fix pixelated video is to match the solution to the cause. AI enhancement is a useful starting point, but resolution, noise, sharpening, bitrate, and access to the original recording all affect how far the footage can realistically be improved.
1. Improve video quality with AI
One of the quickest ways to remove pixelation from video is to start with an AI video enhancer.
Async can restore some visible detail, reduce visual noise, sharpen footage, and make compressed or low-resolution clips look cleaner without requiring you to make several manual adjustments. Its current workflow lets you upload a video, tell Async Chat what you want improved, review the result, and export it.
This works especially well when your problem is a mix of softness, compression, and noise rather than one main technical failure.
But note that AI enhancement still has limits. It can reconstruct plausible detail and improve perceived clarity, but it cannot reveal information the camera never captured.
A face recorded as a handful of pixels is still a handful of pixels. AI can make those pixels look better. It cannot travel back in time and give the camera a better lens.
2. Increase the video resolution
Trying to increase video resolution makes sense when the footage looks noticeably worse after enlargement.
The important distinction is between resizing and upscaling. Exporting a 480p clip as 1080p changes the file's dimensions, but it does not restore the detail that was missing from the original. A basic resize simply distributes the existing information over a larger frame.
AI upscaling goes further by generating or reconstructing plausible detail based on patterns in the footage. That is why it can produce a cleaner result than a standard resize, although the quality still depends heavily on the starting file.
For anyone searching how to make a pixelated video clear, this is also one of the biggest expectations to get right: increasing the output resolution and genuinely improving visible detail are not the same thing.
3. Reduce noise and grain
Speckles moving across dark walls, skin, or shadows usually point to noise rather than pixelation.
Noise reduction works by smoothing irregular variations between nearby pixels. Used carefully, it can make low-light footage look dramatically cleaner. Used too aggressively, everyone starts looking like they have been laminated. The goal is not to remove every trace of texture. It is to reduce distracting noise while keeping edges, skin detail, hair, text, and other fine features intact.
This is especially important before compression. Noisy footage contains lots of tiny changes from frame to frame, which gives the encoder more information to deal with and can make an already compressed video look even messier.
4. Adjust sharpness carefully
Sharpening can improve video quality and perceived clarity by increasing contrast around edges.
However, be careful with how much sharpening you use, because excessive sharpening tends to reveal every compression artifact you were hoping nobody would notice. You may start seeing bright halos around edges, rough skin texture, exaggerated blocks, or a crunchy digital look.
Sharpening also cannot genuinely repair badly missed focus or severe motion blur. It can make an edge look more pronounced, but it cannot recreate a clean frame that was never recorded.
5. Export with a higher bitrate
A perfectly good recording can still fall apart during export.
For YouTube uploads, Google currently recommends around 8 Mbps for standard-frame-rate 1080p SDR video and 35 to 45 Mbps for standard-frame-rate 4K SDR video. Higher frame rates need more data, with 1080p moving to 12 Mbps and 4K to roughly 53 to 68 Mbps.
Those figures are YouTube upload recommendations rather than universal mastering settings, but they are a useful example of how dramatically bitrate requirements rise with resolution and frame rate.
The main takeaway is simpler: exporting a high-resolution video at an extremely low bitrate can still leave you with a blocky file. Resolution alone is not a quality setting.
6. Go back to the original recording
Sometimes the best video-enhancement technique is finding the file you started with.
WhatsApp, Instagram, TikTok, messaging apps, and social platforms commonly compress uploaded media. Downloading that version later does not restore what was removed. Starting from the original camera file gives every enhancement tool more information to work with.
This becomes particularly important after several rounds of reposting. A social download that has already been compressed multiple times may have permanently lost much of the fine detail that existed in the master file.
Starting from the original also gives you more room to fix bad video takes without stacking another layer of compression on top of an already degraded file.
Quick cause-to-fix guide
How to fix a pixelated video with Async
Async gives you a simpler way to enhance video quality without having to jump between several different tools and platforms. Doing that starts with having the best version of the original footage, describing what needs improving, and reviewing the result before exporting.
1. Upload the best-quality file you have
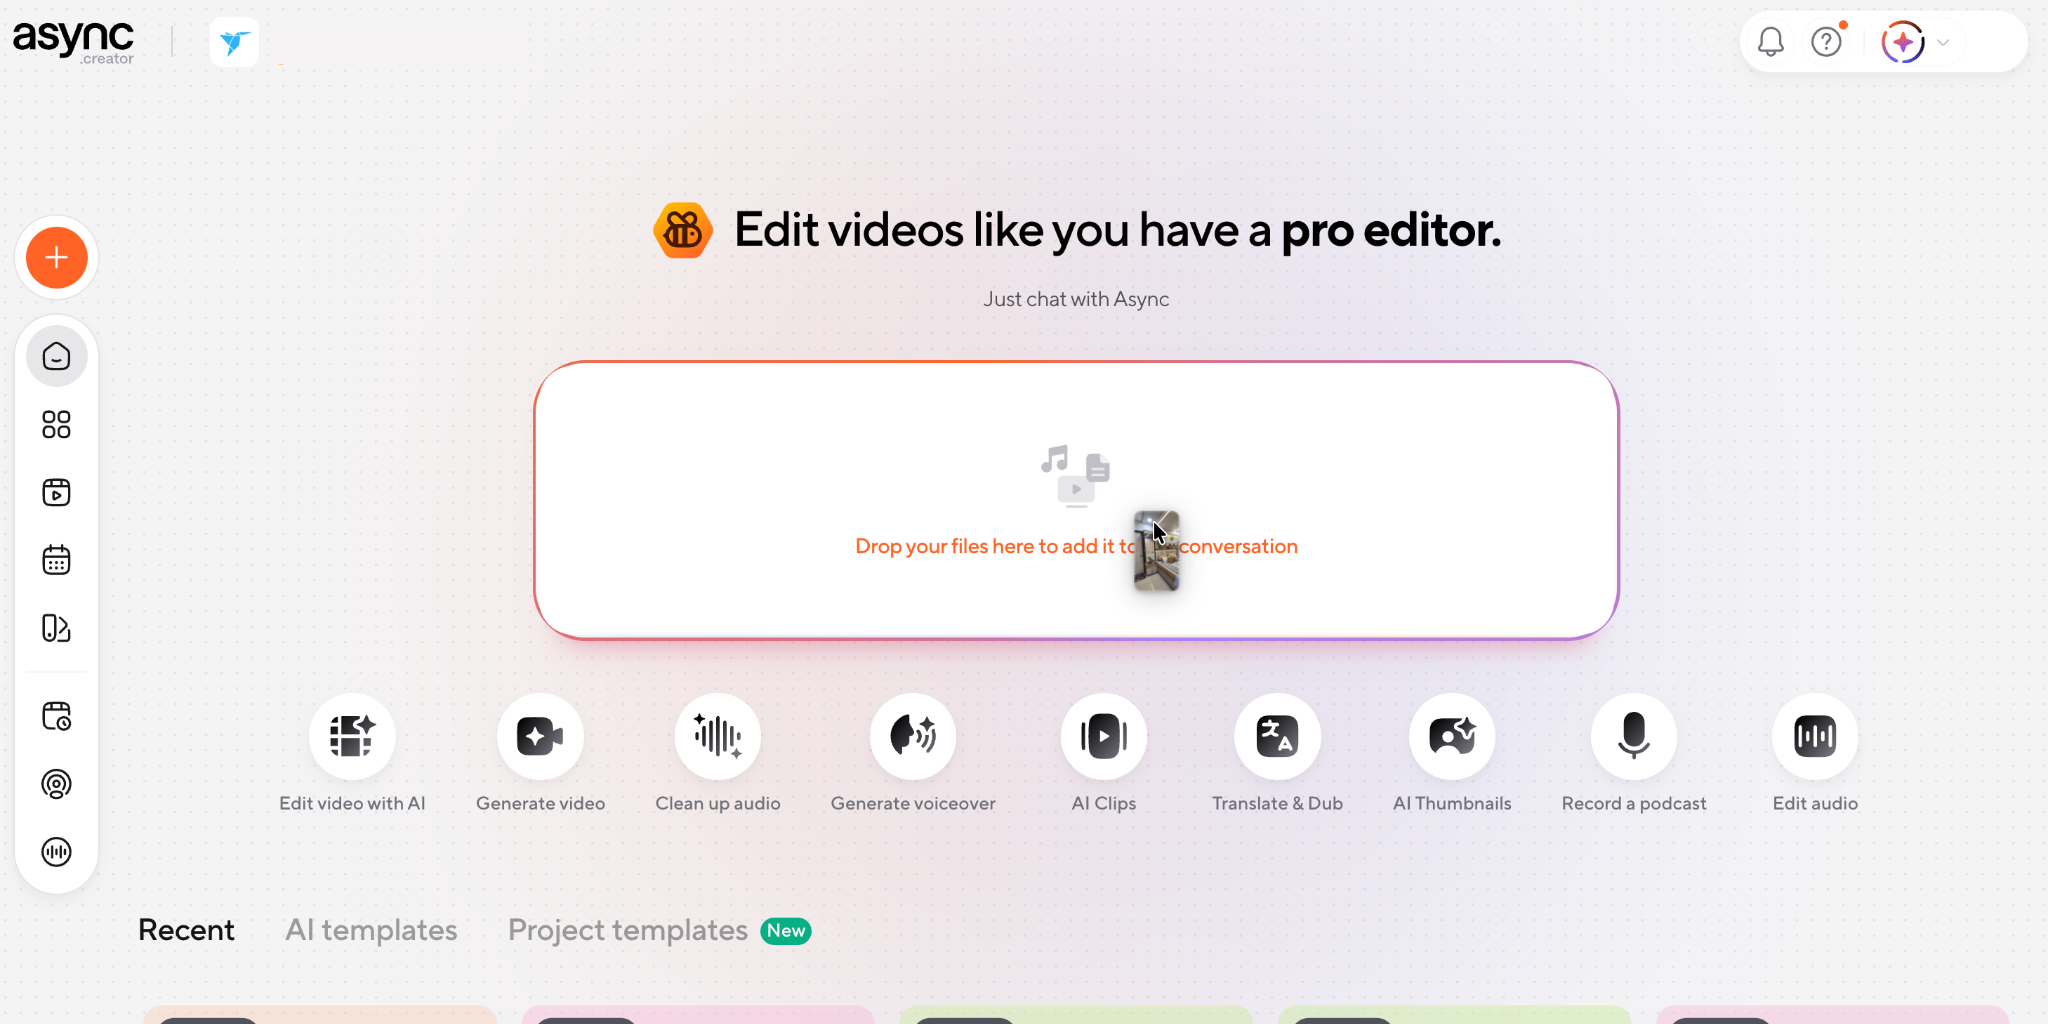
Start with the original recording whenever possible. A camera file contains more usable information than a version downloaded from a social platform or messaging app, which gives enhancement tools more to work with.
2. Tell Async what looks wrong
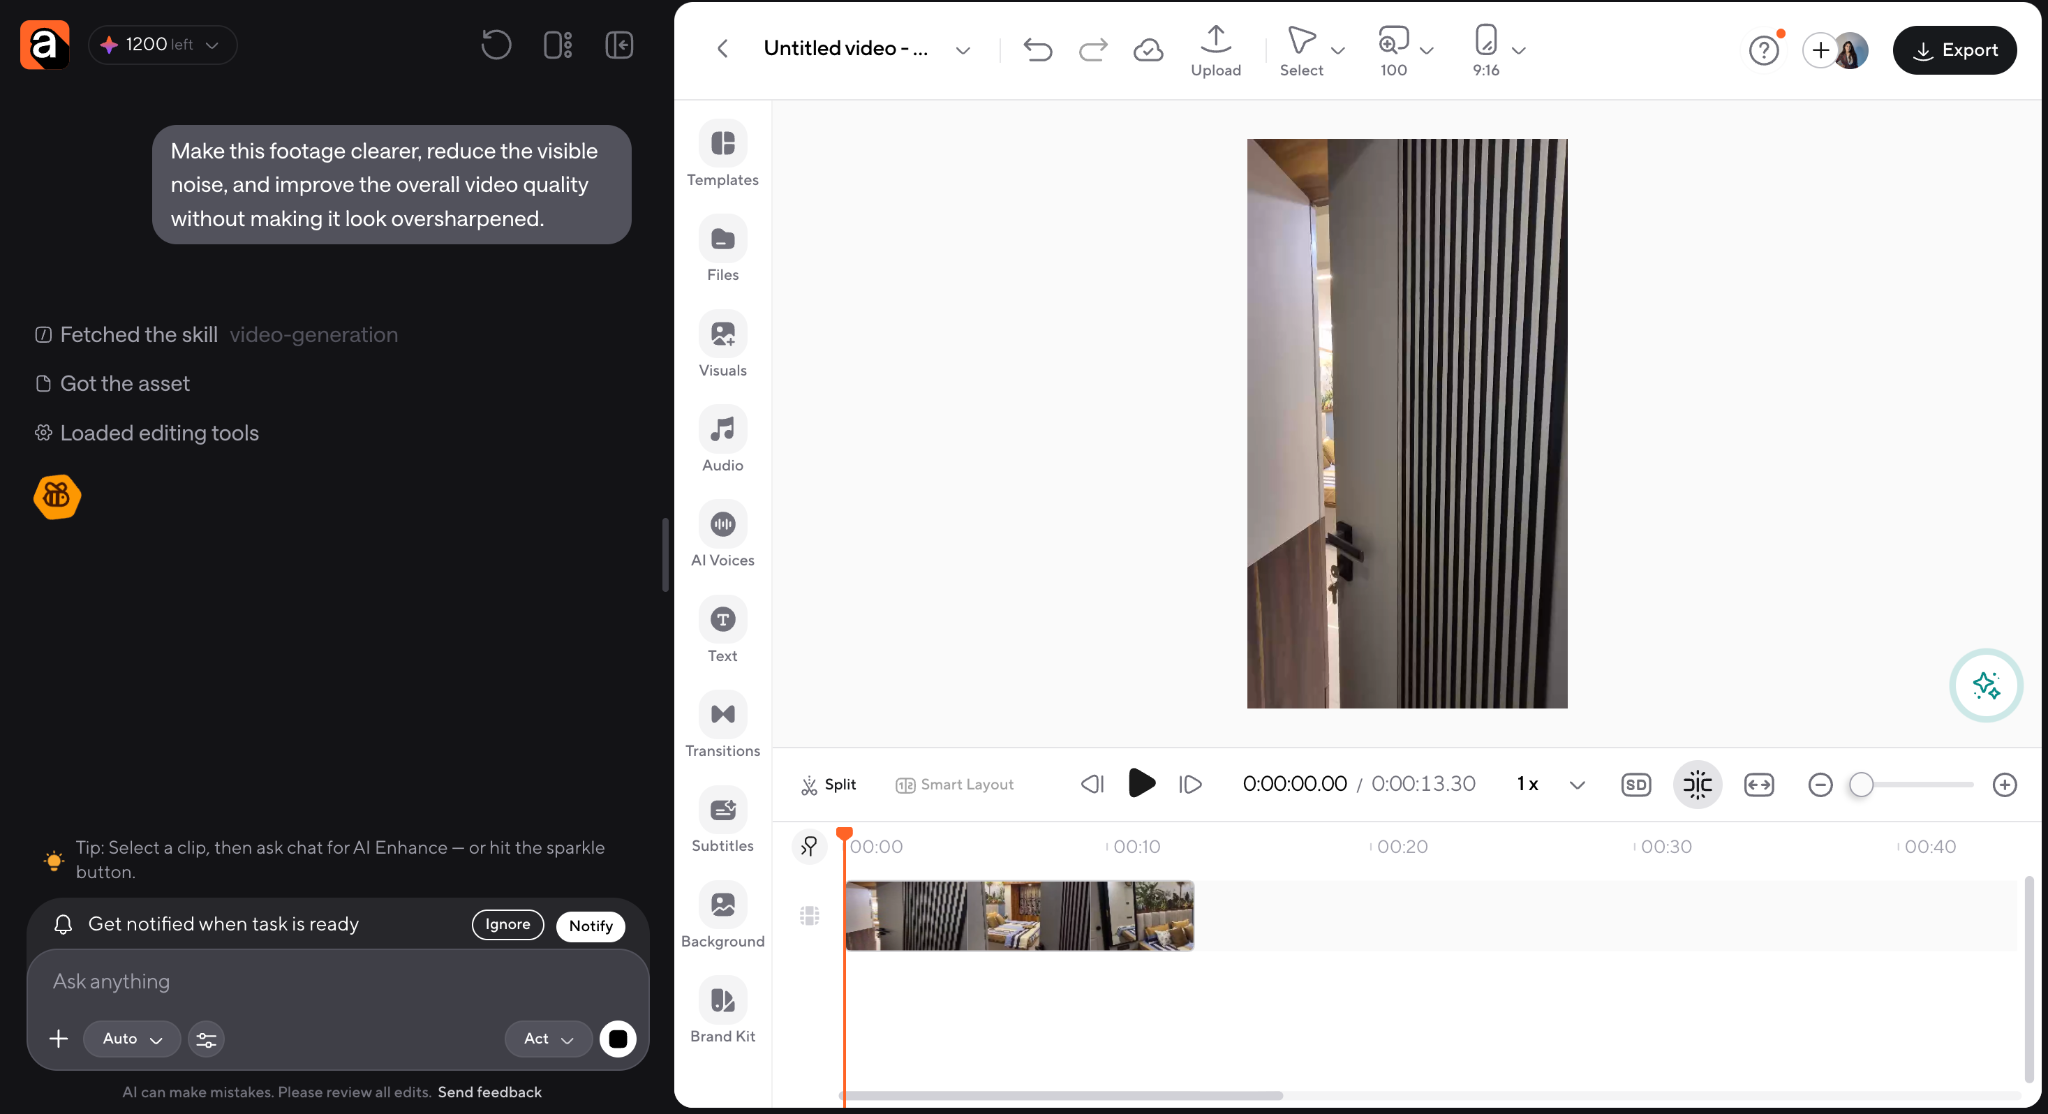
Async's AI video assistant lets you apply AI-powered video adjustments from inside the editor, while Async Chat supports a broader conversational editing workflow. Be specific about the result you want rather than simply asking for "better quality."
For example:
"Make this footage clearer, reduce the visible noise, and improve the overall video quality without making it look oversharpened."
Or:
"Clean up the compression artifacts and improve the detail in this clip while keeping the skin texture natural."
The second prompt gives the tool much more direction and specific things to work on rather than just "enhance this."
3. Check the result at full size
A before-and-after preview can look impressive at thumbnail size but show signs of pixelation or grain once enlarged. Check faces, hair, text, edges, and anything moving quickly through the frame. You are looking for a cleaner version of the same footage, not a completely different texture generated on top of it.
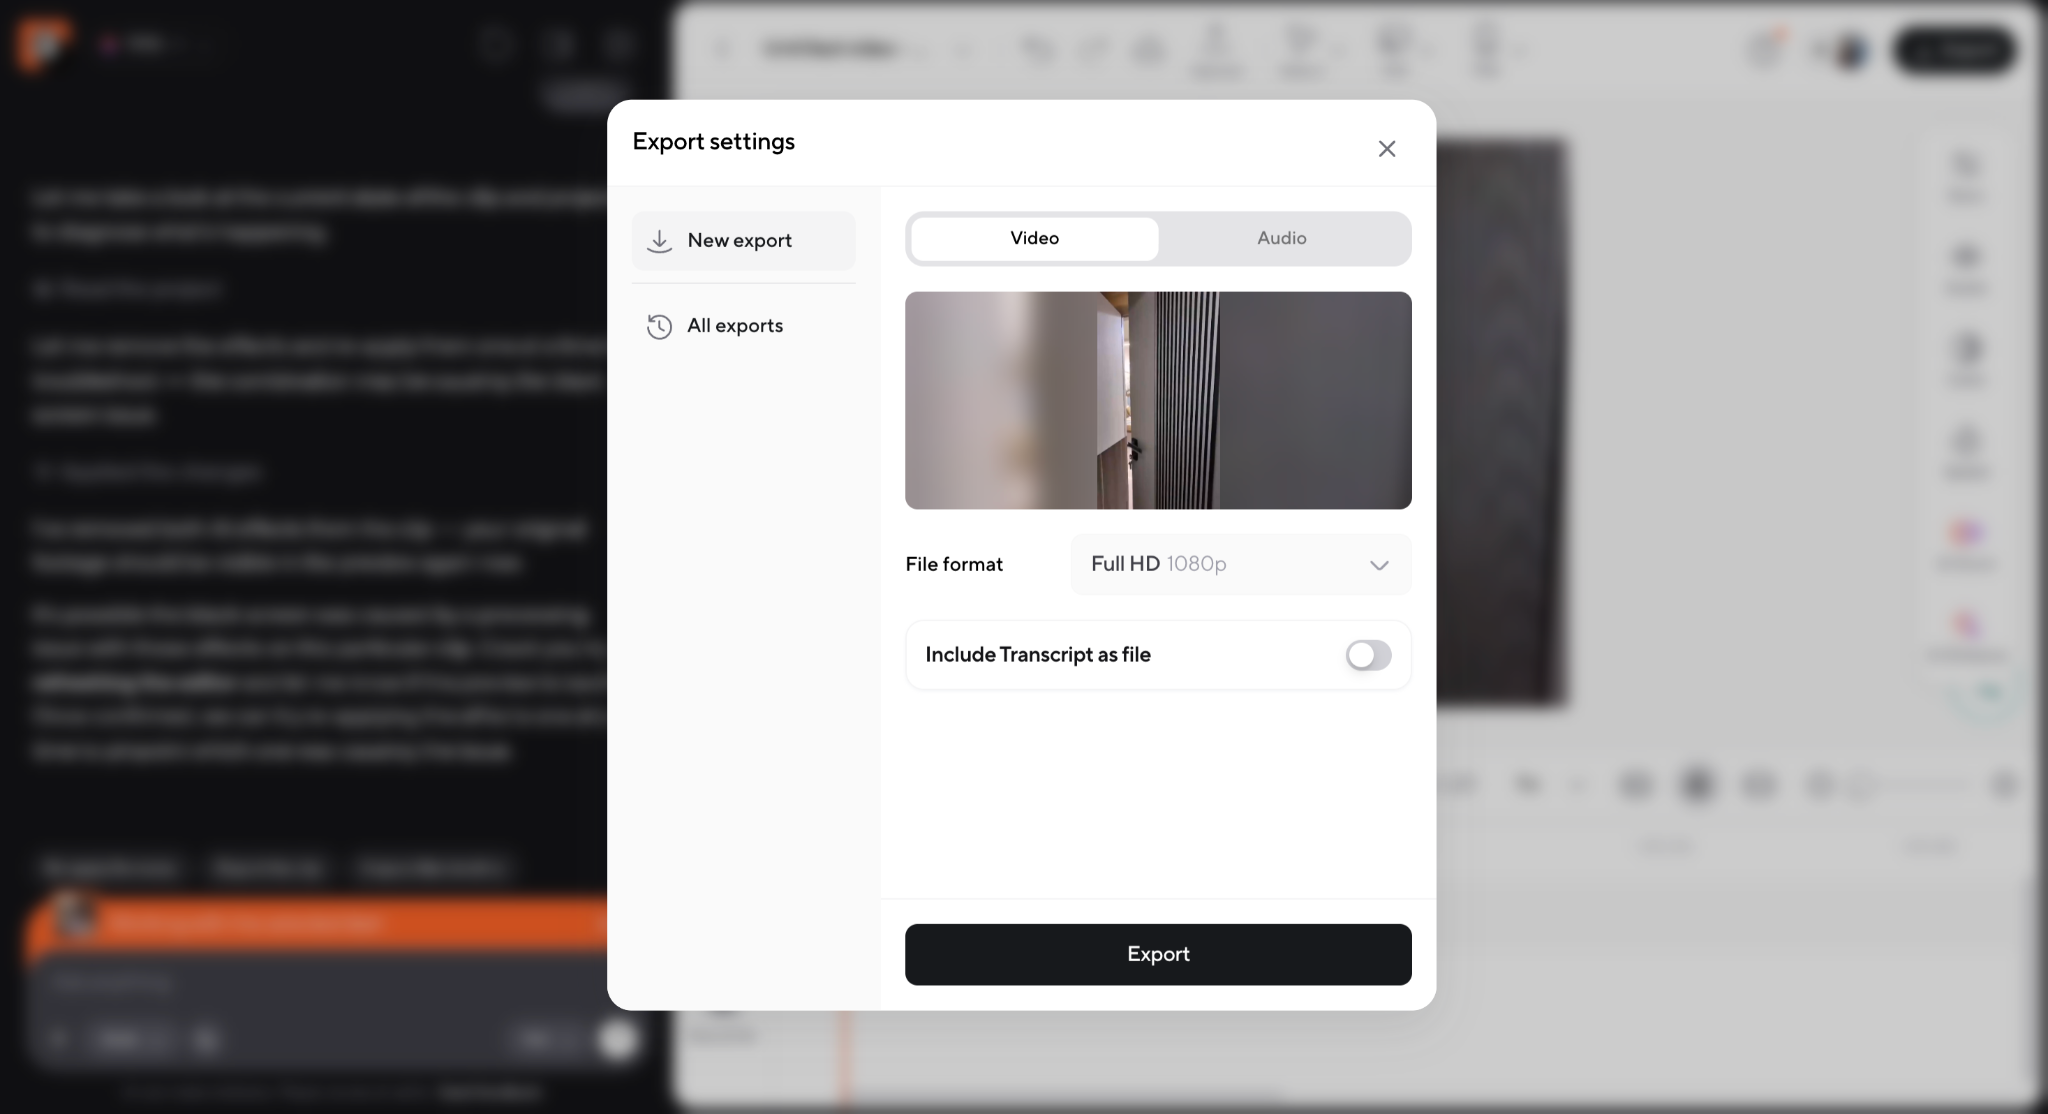
Once the result looks right, export it at a resolution and quality appropriate for where the video will be published. From there, you can keep editing the cleaned-up footage, whether you want to reframe it, add subtitles, or remove backgrounds from video for a different final look. This also makes Async useful for someone trying to clean up a pixelated video online without moving the footage between several separate enhancement programs.
How to prevent video pixelation
Preventing video pixelation is about protecting quality before the footage reaches the editing stage. In brief, you can do that by recording at high enough resolution and in good lighting, avoiding unnecessarily low export settings, keeping the original file, and limiting how many times the same video is compressed.
Record with enough resolution
Use the highest resolution that makes sense for the camera, storage, editing setup, and final destination. More is not always better. Shooting everything in 8K because the button exists can create enormous files without giving your final Instagram Reel any meaningful advantage. The goal is simply to capture enough information for the final output.
Give the camera enough light.
Good lighting does more than make footage prettier. It also allows the camera to produce a cleaner image with less sensor noise, which gives both your editor and the final compression algorithm an easier job. A clean 1080p recording can often survive social compression better than a noisy 4K recording.
Match export settings to the final platform
Always accepting an unusually low bitrate because it produces a smaller file can backfire on you. The right export depends on resolution, frame rate, codec, and destination. For YouTube in particular, cleaner exports are only one part of performance. Things like packaging, retention, and discoverability matter too when you're trying to get more views on YouTube. Start with the publishing platform's current recommendations when they are available.
Stop stretching one frame into every format
Turning a horizontal recording into a vertical video by simply zooming into it can throw away huge amounts of usable resolution. For content published across several platforms, AI reframe can automatically adapt footage into vertical, square, and horizontal formats while detecting faces and key action so the main subject stays in frame. That is very different from taking a tiny crop and enlarging it until it fills the screen.
Avoid repeated compression
Keep one clean master export. Create platform-specific versions from that master instead of downloading yesterday's Instagram post and using it as tomorrow's TikTok upload. That tiny workflow change can save you as much or even more quality than a lot of post-production tricks out there.
Keep the original files
A good thing to remember is that keeping storage is cheaper than reshooting. Always keep the original camera recording along with a high-quality master export of the video whenever the content matters; you never know when it might come in handy. Six months later, when someone asks for the same clip in another format, you will be glad you did not leave the only surviving version buried inside a WhatsApp conversation from February.
Better video quality starts with the source
There is no single switch that can perfectly unpixelate every video. Some footage needs more resolution. Some needs less noise. Some only needs to be exported properly. And sometimes the "bad" video is simply a compressed copy of a perfectly good original sitting somewhere else.
The most reliable workflow is to start with the cleanest source you have, identify what actually went wrong, and then apply the smallest fix that solves it. AI can take a lot of friction out of that process. Async's video enhancer can restore detail, reduce visual noise, and sharpen low-quality footage through its chat-based workflow, but the best results still come from giving it the strongest source file possible.
That is ultimately the difference between genuinely improving video quality and simply making a bad file bigger.
FAQ
Can you completely unpixelate a video?
Not completely. AI enhancement can reduce compression artifacts, improve perceived detail, upscale footage, and make a pixelated video much easier to watch. It still cannot perfectly reconstruct information that was never recorded. Results usually improve as the quality of the original source improves.
Why is my video pixelated even though it is 1080p?
A high-res video can still look pixelated, depending on the viewing conditions. A 1080p file can still look blocky after heavy compression, an extremely low bitrate export, repeated uploads, or poor source footage. The file may technically contain 1920 × 1080 pixels but actually not carry enough visual information to make those pixels look clean.
Can AI fix a pixelated video?
You can improve pixelated videos with AI through many methods. For example, you can upscale footage to reduce noise, sharpen details, or even clean up some compression artifacts. Improving pixelated videos with AI works best when some usable detail still exists in the source. Unfortunately, severe pixelation caused by extremely low resolution cannot be perfectly reversed.
How to make a pixelated video clear?
Start with the original file and find out if the problem comes from issues of low resolution, compression, noise, or export settings. AI upscaling and enhancement can improve low-quality footage, while a higher bitrate export may solve videos that only became pixelated during editing or publishing.
How to unpixelate a video?
To unpixelate a video, always use the highest-quality source available, upscale the footage where needed, reduce compression artifacts and noise, then apply light sharpening. Also remember that AI enhancement can automate much of this process, but not restore visual information missing from the original recording.
Why does my video become pixelated after uploading it?
Most platforms compress uploaded videos to reduce storage and bandwidth requirements. If the video has complex movement and fine detail, or if it already has noise and low starting bitrates, compression will make these only more visible. Uploading a clean master file gives the platform's encoder a much better starting point.
What is the difference between a pixelated and grainy video?
Pixelation appears as visible blocks or squares and usually comes from compression or insufficient resolution. Grain looks like fine speckled noise and is often caused by low-light recording or sensor noise. One clip can contain both, but the fixes are different.
Does converting a video to 4K improve its quality?
A normal 4K conversion does not create real detail. It simply places the existing image into a larger pixel grid. AI upscaling can generate plausible additional detail and make the result look cleaner, but converting a low-resolution file to 4K by itself does not turn it into genuine 4K footage.